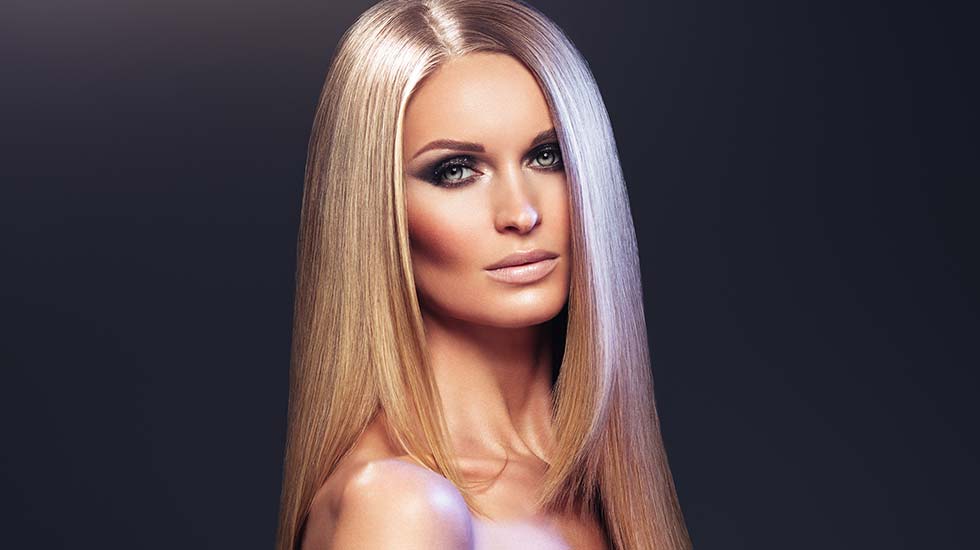
For the best hair straightening, it’s recommended you visit a Japanese hair straightening salon. Unfortunately, not everyone has the money to pay for the treatment.
If you are in such a situation, you are most likely wondering, can I do Japanese hair straightening at home? The good news is that you can do it, but ensure that you follow the right procedure for the best outcome. Is this the first time you are doing it? Here is the procedure to follow:
Step 1: Pre-treat the hair
To have smooth and sleek hair, you should pre-treat it before you straighten it. If you have done any chemical treatment to the hair, get rid of it. It’s also wise to apply a conditioning hair mask in the weeks leading up to the treatment to keep the hair smooth and straight.
Step 2: Shampoo the hair
Once the hair is pristine, shampoo it with a clarifying shampoo, then rinse it thoroughly. The purpose of cleaning the hair is to help the hair straightening solution stick to the hair strands.
Be cautious when applying the shampoo, especially if you have sensitive skin, as it can lead to redness or even a full-blown rash.
Step3: Apply the activator
It’s the activator that breaks the protein bonds in the hair, which helps it stay perfectly straight. Apply it quickly and evenly so that you expose the hair evenly to it. Begin applying the product from the nape of your neck and apply the relaxer from the ends of the hair, all the way up to about ¼ from your scalp.
After applying the solution, gently place a plastic wrap around the roots to separate them from the rest of the hair strands.
How long you have the activator on depends on the strength of the product.
Step 4: Rinse the hair
With the solution having worked its magic, the next thing you should do is to rinse the product out and prepare the hair for straightening. When rinsing, take care and exercise even more care when combing to avoid damage. As you are drying the hair with a towel, avoid any scrubbing that might lead to breakage.
Step 5: Blow-dry the hair
Blow-dry the hair that isn’t sopping wet, and when doing it, don’t dry it fully. Remember that the key is to keep the hair moisture enough for your flat iron to do its job.
Step 6: flat iron the hair
Flat ironing is usually the most time-consuming part of the process, where it takes up to one and a half hours. Set your flat iron to 350 degrees, then work in small sections.
Get the hair as smooth as possible while taking care not to remove all the moisture that would lender the hair too dry and prone to breakage.
Be cautious of the flat iron you use, as you can use one that will damage your hair. For the best outcome, use a professional level iron.
Step 7: Apply a neutralizer.
The purpose of the neutralizer is to balance the hair pH. Apply it evenly all over the hair, then let it sit for at least five minutes before rinsing it out.
After the hair dries out after rinsing, blow it once more for the final time in the direction of the cuticles and finish with flat ironing it.
It’s too much work, right?
As you can tell, it’s too much work straightening the hair at home. If you don’t have time or someone to help you at home, you are better off getting the hair done in a permanent hair straightening salon Rockville. You will save time and get perfect results.

